Hello Lovers!
It’s been a while indeed! Welcome back! We are back from our summer holidays, alive and kicking!
Those of you that are regulars here at Brooke Eva will remember we partook in Creating with the Stars 2014 competition a few months back. Brooke Eva made it to the semi final round of the competition, something we are truly proud of! I do have to be totally honest though, after three very intense weeks of DIY we were very ready for a DIY breather and we never did get around to sharing the ‘how to’ on our projects. If you loved our week two paint project, today is your lucky day.
Week two had me in a little twist so to speak. I knew I wanted something unique . I had seen a burl wood desk online and fallen head over heels in love, the only thing standing between me and my love and a happy union was the price tag. So call me crazy, and believe me there was more than one occasion I had those thoughts myself, I decided to give making it myself a go. I had never attempted a faux wood effect, I spent as much time as I could, with the time constraints of the competition, on youtube tutorials. Unfortunately there weren’t any tutorials that achieved the look I was after so I took bits and pieces from what I had seen and decided to get cracking. I didn’t have time for a trail run or a Plan B. I jumped into the deep end with no arm bands, a blind backing myself. I’m so glad I did.
Without further ado, here is our ‘how to’ achieve a faux burl wood effect.
- Assemble a 90cm x 60cm box with ply wood
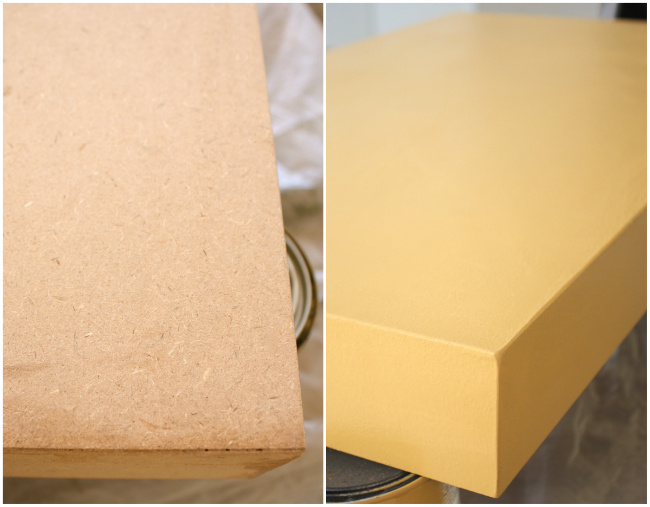
- Ply wood requires a fair amount of sanding to get its surface even. Which is an important step.
- Apply of coat of primer.
- Paint the base colour. I used Clarke & Kent Caramel Latte.
- Give the surface a gentle sanding.
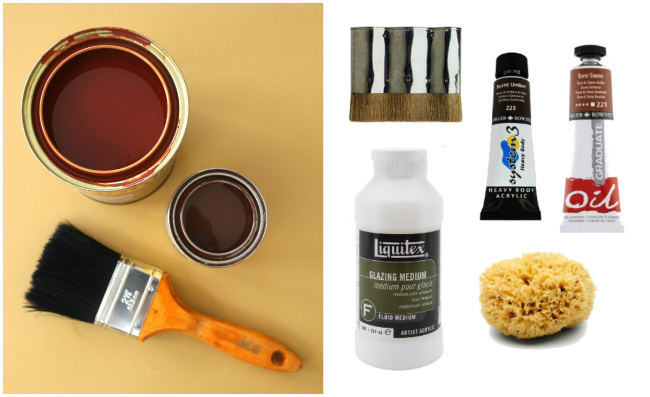
- The next step is to give the ply wood a coat each of Mahogony and Cherry varnish. Leave this to dry thoroughly. The mixture of these two yields the best colour.
- Make a mixture of Academy acrylic artist paint in Burnt Umber and Burnt Sienna mixed with Liquitex Latex glaze. A rough guide would be one part paint to three parts glaze.
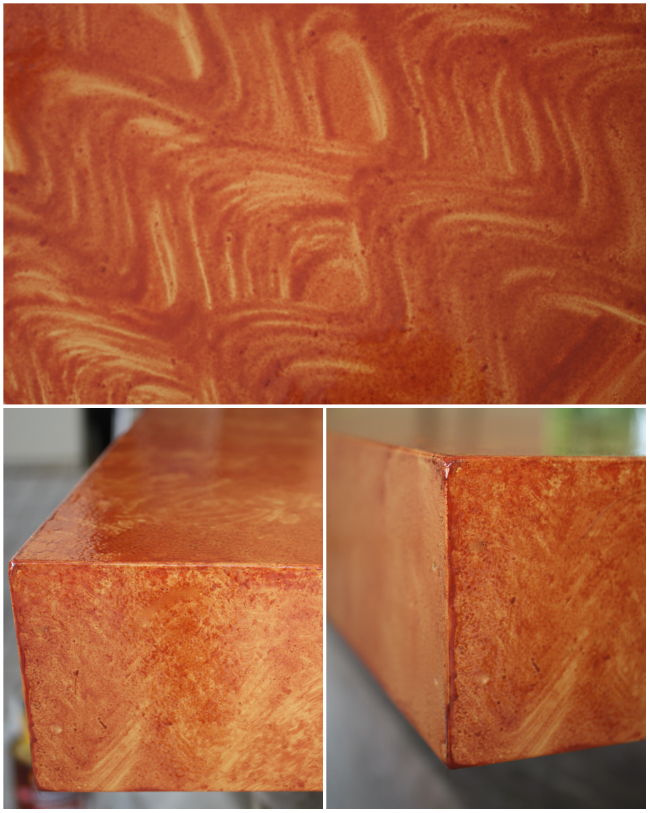
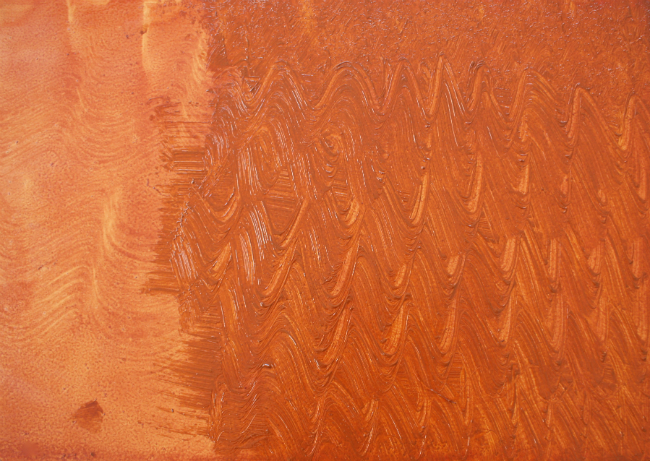
- Paint this is sections. As a guide I painted in 20cm x 20cm patches at a time. Apply the paint and latex glaze, it will be fairly thick. Using a wavy stipple brush and a zigzag hand motion, pattern the paint. (do so fairly quickly as the glaze dries rapidly)
- Using a sea sponge dab over the section of paint to remove excess paint, to yield the ‘sponge’ effect.
- Allow to dry thoroughly.
- Give the surface a very gentle sanding once dry to give a even finish.
- Paint a clear coat of varnish
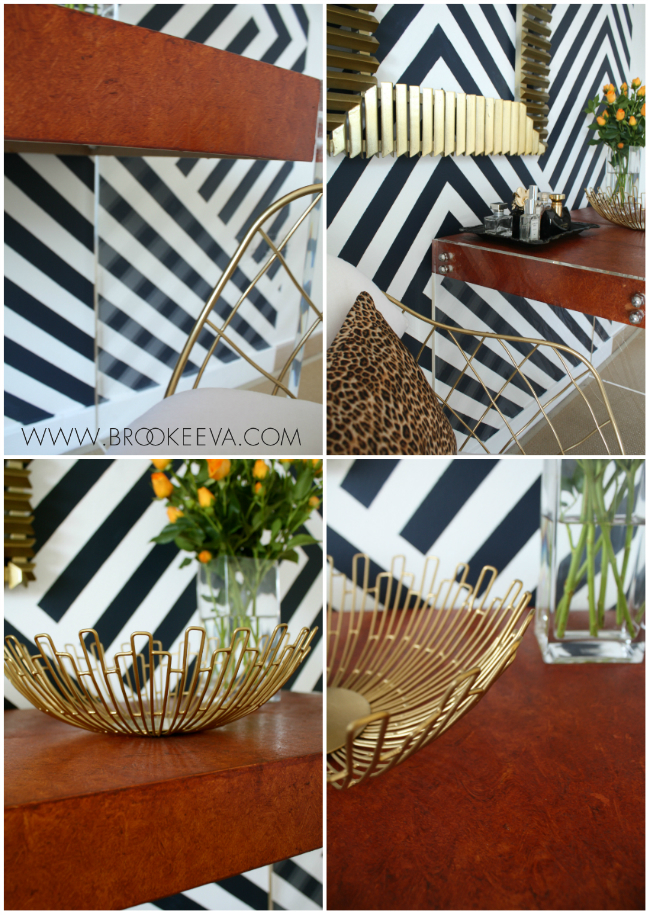
- I had the acrylic used for the legs cut and attached to the desk top
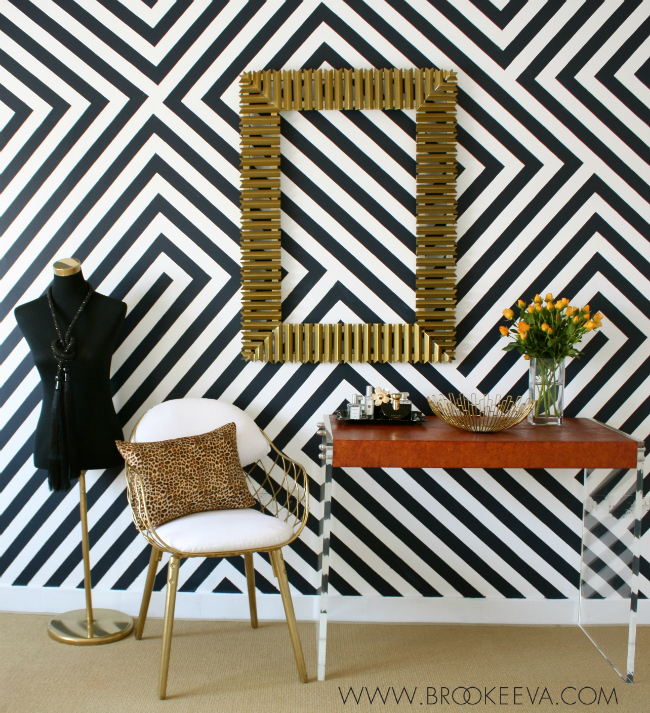
I was so pleased with the finished result, I love the depth of colour. And as for the acrylic legs, I love.
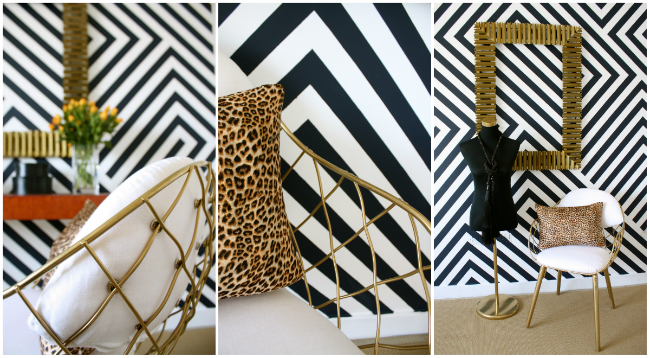
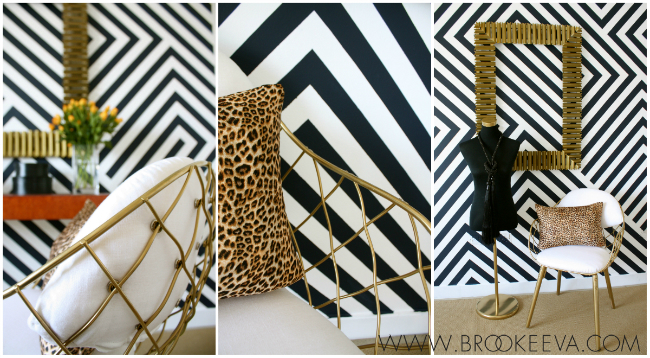
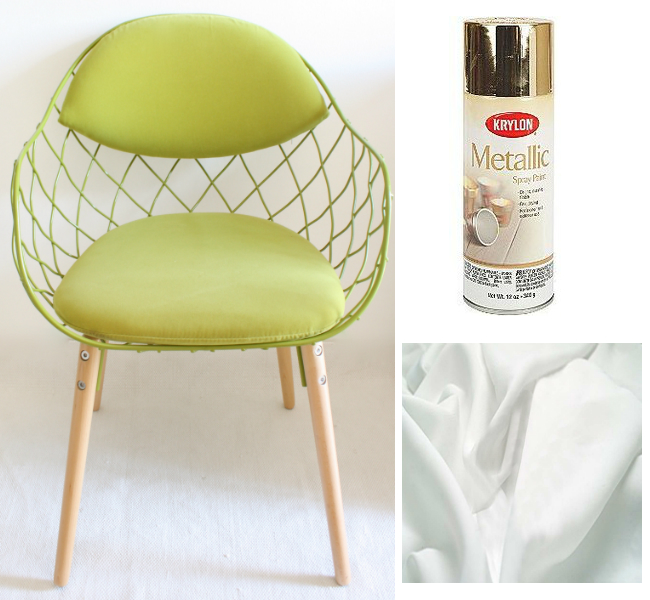
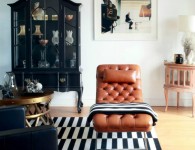
Once the desk was completed, mission number two was to find a suitable chair. I had seen this chair some time back and I knew it was to be the winner. However the green was not going to work in my home so a simple DIY of spray painting the chair gold and re upholstering the cushions in white linen and the chair was given a solid dose of chic.
I think the gold works perfectly teamed with the animal print cushion and art deco wall!
The art deco wall project was the main feature in the week two project, but that ‘how to’ my friends is for another day. That project nearly took me down!
- Ply wood
- Clarke and Kent Caramel Latte paint
- Mahogony and Cherry varnish
- Acrylic Artist paint in Burnt Umber and Burnt Sienna
- Liquitex Latex Glaze
- Clear Varnish
- Paint brush and roller
- Stipple brush
- Sea sponge
This project was most certainly a case of ‘you never know until you try’. I’m certainly glad I did!
Til next time!
Linking with: Fridays Unfolded / Life in Velvet / The 36th Avenue / Miss Mustard Seed / Creative Collection Party / DIY Inspired Party / That DIY Party / Silver Pennies Sundays / The Makers Link Party / Hit me with your best shot













18 Comments
I love everything the faux burl wood, the chair, the styling….Beautiful.
Thank you so much Carmody! So nice of you! Jacqui
What a gorgeous room vignette! I love the bold stripes, and that faux wood grain console is perfect. Thanks for sharing at Fridays Unfolded-pinning to the party links board!
Alison
Nancherrow
Thanks for hosting Alison!
I love this space, and I totally voted for this! The acrylic legs – swoon! Thanks so much for linking up with us at The Makers.
Thank you so much Alexis! I’m in love with those legs too!
WOW, everything in this space is incredible and is complete eye candy! I Love everything you do! Thank you so much for sharing it over at The Makers!
Thank you so much for the lovely compliment, I appreciate that! Thanks for hosting! Jacqui
This is just gorgeous! Love everything about the desk and chair! Amazing projects as always 🙂
Hi Angela, thanks for stopping by the blog and for your kind comment! Jacqui
[…] with the gold details – Going glam?!? Then you need to take a look at these gorgeous pieces by Brooke Eva! She shares how she achieved this faux burled walnut effect and it is […]
[…] and paint a faux burl wood desk with acrylic legs with a tutorial at Brooke […]
just curious. separate coats of cherry and mahogony varnish? did you “swirl” the varnishes on? am referencing first pic after sanding the caramel latte pic.
Hi Eileen, I did a coat of each. I did a coat of Mahogany and then a coat of Cherry. And yes, you are correct, as the image shows a ‘zigzag’ hand motion as you apply each coat so as to ultimately achieve the ‘faux burl wood effect’! Good luck with your DIY!
I love love love this DIY! One question, where did you purchase the acrylic for the legs? Thank you!
Thank you so much Jessica! So nice of you! I got the acrylic legs cut to size by Accurate Acrylic.
Whoa… amazing work on that finish! I would love to link to this in an upcoming Revamp Roundup if you didn’t mind!
I don’t mind at all Rachel, thank you for your comment and for stopping by the blog. Jacqui